Swimming Pool Leak Detection: The Bucket Test and What Comes Next
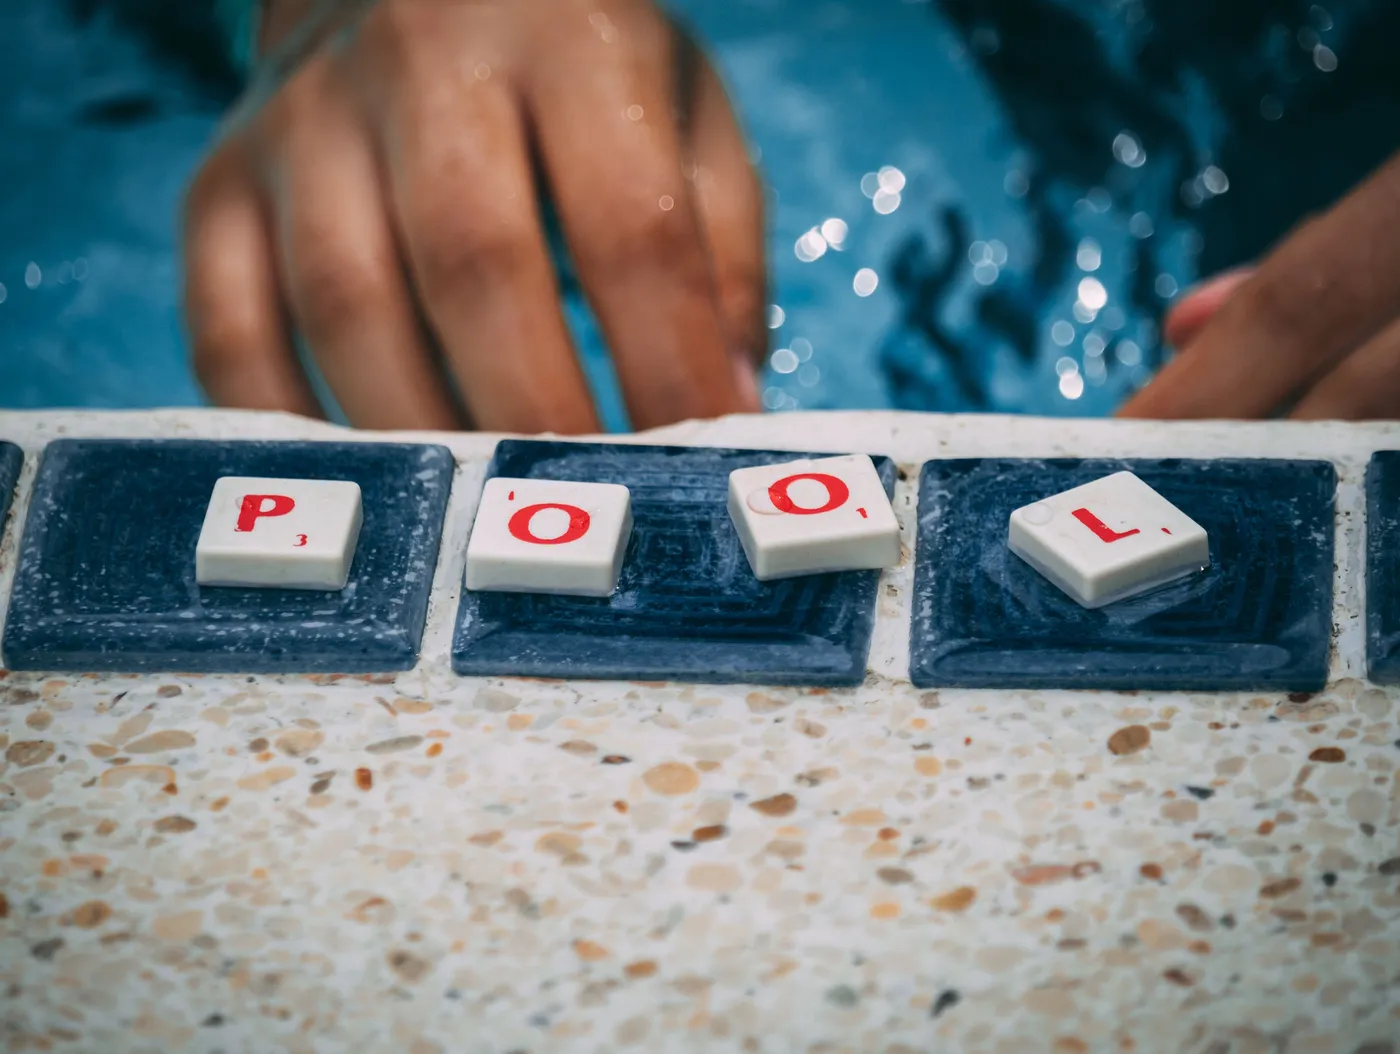
Before anyone books a survey, the bucket test settles whether a pool is actually losing water or simply evaporating. How to run it so the answer means something, what a pump on and pump off comparison tells you, and what a professional survey adds.
Almost every pool owner who thinks they have a leak starts from the same observation: the level keeps dropping. That observation alone proves nothing, because an uncovered outdoor pool in a warm week loses a measurable amount to evaporation, and a busy pool loses more again to splash-out and to water carried away on people. The first job is not to find a leak. It is to establish whether there is one.
The bucket test does that, costs nothing, and is the single most useful thing an owner can do before ringing anybody. It is also very easy to run in a way that produces a meaningless answer. This guide sets out how to do it properly, how to read the result, and what a professional survey adds once the test says the pool is genuinely losing water.
The Bucket Test Done Properly
The principle is simple. A bucket of pool water sitting in the pool is exposed to the same air temperature, humidity, wind and sunshine as the pool itself, so it evaporates at roughly the same rate. Anything the pool loses beyond what the bucket loses is not evaporation.
How to run it
- Top the pool up to its normal operating level first, so the skimmer is working as usual.
- Turn off any automatic top-up or float valve. If it refills the pool during the test, the test is worthless.
- Stand a plain bucket, with no taper that makes marking awkward, on the second step so it is partly submerged and at pool temperature.
- Fill the bucket with pool water to within a couple of inches of the rim, and to roughly the same depth as the pool water outside it.
- Mark the water level inside the bucket and the pool level on the outside of the bucket, using tape or a wax pencil. Two marks on one object removes any argument about differing reference points.
- Leave everything running exactly as normal for twenty four hours, with nobody swimming.
- Read both marks at the same time of day, and record the gap in millimetres rather than eyeballing it.
- Repeat the whole thing with the circulation pump switched off for twenty four hours. The comparison between the two runs is where the useful information is.
What invalidates the test
Rain during the test period, because it tops up the pool and the bucket unequally. Anybody swimming, because splash-out is indistinguishable from a leak on a single reading. An automatic filler left enabled. A bucket standing in the sun on the surround instead of in the water, which evaporates at a completely different rate. Wind strong enough to blow water out of the pool but not the bucket. If any of those happen, start again rather than interpret the result.
Reading the Result
Two runs give you four numbers and a reasonably clear direction of travel.
| What you observe | What it indicates | Sensible next step |
|---|---|---|
| Pool and bucket drop by the same amount | Evaporation, not a leak | Consider a cover. Repeat in different weather before concluding |
| Pool drops more than the bucket, similar with pump on and off | A structural loss: shell, liner, tiling, or a fitting in the pool body | Dye testing at fittings and visible defects, then a survey |
| Pool drops much more with the pump running | Pressure side: return lines and their joints are under pressure only when the pump runs | Pressure testing of the return circuit |
| Pool drops much more with the pump off | Suction side or a static structural loss, sometimes drawing air when running | Pressure testing of suction lines, check the skimmer throat |
| Level falls to a specific point and stops | The defect is at that height. Skimmer throat, a light housing, a return eyeball, a tile line | Inspect at that exact level before anything else |
| No level loss but wet ground or a sinking surround | Possibly plant room or buried pipework rather than the pool body | Check the plant room and the make-up supply |
The level that stops falling is the strongest clue you will get
If the water drops and then holds at a constant height, the breach is at that height and it has stopped being submerged. That narrows a search from a whole pool to a band a few centimetres wide, and it is free information. Note where it stopped before you top the pool back up.
Where Pool Leaks Actually Occur
The pool shell is rarely the culprit. Penetrations and pipework account for most losses, because those are the points where two materials meet and move at different rates.
| Location | How it presents | Usual method |
|---|---|---|
| Skimmer throat and its joint to the shell | Level falls to just below the skimmer and holds | Visual, then dye test with the water still |
| Return eyeball fittings | Loss increases when the pump runs | Dye test, then pressure test the return line |
| Underwater light housing and conduit | Water tracking down the conduit into the surround | Inspection of the niche, dye test around the rim |
| Main drain and its pipework | Level falls below all other fittings and keeps going | Isolation and pressure testing |
| Buried circulation pipework | Soft or sinking surround, unusually green patch of grass | Pressure testing, acoustic listening, tracer gas on a drained line |
| Liner seams, patches and creases | Slow steady loss with no obvious focus | Dye testing along seams, pool emptied only as a last resort |
| Tiled or rendered shells | Loss through cracked grout or a movement joint | Close visual survey, dye testing at cracks |
| Plant room and backwash line | Water lost through a passing backwash valve straight to drain | Check the valve and the waste line before touching the pool |
Check the plant room before you blame the pool
A backwash or multiport valve that is passing sends filtered water straight to waste continuously, and the pool level falls exactly as though the shell were leaking. It is a five minute check: with the pump running and the valve in filter position, look for flow at the waste discharge. Pump seals, filter unions, heater connections and the make-up supply are worth the same walk round before anybody talks about excavating a surround.
The same logic applies to the pool cover and the surround drainage. A cover that traps and then sheds water unevenly can make the level look erratic from one morning to the next, and a deck drain discharging under the paving will produce wet ground that has nothing to do with the pool at all. Rule out the cheap explanations before paying for the expensive ones.
What a Professional Survey Adds
The bucket test tells you whether water is being lost and roughly which family of causes is responsible. A survey establishes which specific component has failed and where it is, which is what a repair needs.
| Technique | What it establishes | Where it stops working |
|---|---|---|
| Pressure testing of individual lines | Which circuit has a breach, by isolating and plugging each in turn | Lines that cannot be isolated, or fittings too degraded to plug safely |
| Dye testing at suspect points | Confirms a visible defect is drawing water | Needs completely still water. Useless with the pump running or in wind |
| Acoustic and hydrophone listening | Position of an escape along a pressurised buried line | Plant noise, traffic, very low flow rates, deep or sleeved pipework |
| Tracer gas on a drained line | Small breaches under a solid surround | Impermeable finishes, ventilation, lines that cannot be drained |
| Thermal imaging of the surround | Warm water tracking from a heated circuit | Unheated pools, solar gain on the paving, deep pipework |
| Camera inspection of lines | Visual confirmation inside pipework and at joints | Bends the camera cannot pass, silted lines |
| Moisture readings around the surround | Extent and direction of subsurface wetting | Recent rain, irrigation, and generally wet ground |
What the survey should leave you with
A named failed component, its position marked physically on the pool or surround, a statement of what has to be lifted or excavated to reach it, and photographs of each of those. Anything less is a hypothesis. The reporting standard is the same as for any other concealed leak, and our guide to what a leak detection survey involves sets out what a usable written deliverable contains.
What Pool Leak Detection Cannot Do
Pool work has harder limits than most internal leak detection, and it is worth knowing them before booking.
It cannot separate a very small loss from evaporation
Below a certain rate, the difference between the pool and the bucket falls inside the measurement error of two marks on a plastic bucket. Weather swings during the test period make that worse. A pool losing a few millimetres a day in changeable conditions may need several runs across different weather before the result means anything, and there is no instrument that shortcuts this.
It cannot test a line that cannot be isolated
Pressure testing depends on plugging a circuit at both ends. Where the original installation left no isolation, where fittings are too degraded to plug without damaging them, or where several circuits were manifolded together without valves, the method is unavailable. On older installations this is common, and the honest answer is that the search becomes excavation guided by weaker evidence.
It cannot work around an automatic filler or continuous use
Every method above assumes the pool is a closed volume for the duration of the test. An auto-fill left enabled, an irrigation system discharging near the surround, or continued swimming all defeat it. Nothing in the equipment compensates for that.
It cannot tell you when the failure started
The condition of a fitting, the extent of ground saturation and the state of a crack support a view on whether damage is recent or long standing. None of that produces a date, and reports that offer one are overstating what the evidence carries.
What Drives the Cost of the Work
Pool investigations are priced by what has to be done rather than by a standard visit, and the variables are worth understanding before asking for a quote. The size and construction of the pool matters, because a tiled concrete shell, a liner pool and a one-piece moulded shell each fail differently. So does how much pipework is buried and whether it was ever documented. Whether circuits can be isolated decides whether pressure testing is available at all. Whether the surround is soft landscaping or a laid stone terrace decides what reinstatement costs if excavation is needed. And whether the pool is indoors, where a leak also becomes a building fabric problem, changes the scope again.
Questions worth asking before you book
- Do you pressure test individual circuits, and what happens if they cannot be isolated?
- Is the investigation priced by attendance or by the job, and what is included in each?
- What do I receive in writing, and does it include the marked position of the failure?
- Do you carry out the repair as well, and is that quoted separately?
- What do you need from me before you arrive, and should the pool be full?
Our guide to choosing a leak detection company covers how to compare answers to those, and our swimming pool leak detection page sets out how a pool investigation is scoped.
Standards, Top-Up Water and Preventing the Next One
Domestic pool water systems are covered by the BS EN 16713 series, which sets requirements for filtration systems, circulation systems and water treatment. The Pool Water Treatment Advisory Group publishes the UK technical standards most operators work to. Neither is a leak detection standard, but both bear on the pipework and plant that most pool losses actually come from.
The top-up supply matters legally as well as practically. Any connection between the wholesome water supply and pool water is a backflow risk and must be protected in accordance with the Water Supply (Water Fittings) Regulations 1999, which prohibit arrangements likely to cause contamination of the supply. If a pool is quietly consuming a great deal of mains water, that also shows on the meter, and our guide to reading your water meter explains how to measure it. Where the ground around the pool is wet but the pool itself tests sound, the problem may be the buried supply rather than the pool, which our guide to a water leak in a garden or driveway covers.
How we help with this
If the article describes a problem you actually have, these are the visits that deal with it.
- our full guide to leak detection
How each method works and when it is the wrong tool for the job.
- swimming pool leak detection
Structure, liner and circulation tested separately.
- leak detection in London
Finding a hidden leak without opening the property up first.
Frequently asked questions
How much water loss is normal for a swimming pool?
An uncovered outdoor pool loses a measurable amount every day to evaporation, and the rate changes with air temperature, humidity, wind and sunshine, so there is no single normal figure that holds across a season. That is exactly why the bucket test exists: it compares the pool against a control exposed to the same weather, rather than against a number from a website. Splash-out and water carried away on swimmers add to it, which is why nobody should be in the pool during a test.
How do I run a bucket test properly?
Top the pool to its normal level, disable any automatic filler, and stand a bucket on the second step so it sits in the water at pool temperature. Fill it with pool water, then mark both the inside water level and the outside pool level on the bucket. Leave everything running normally for twenty four hours with nobody swimming, then compare the two marks. Repeat the whole thing with the circulation pump switched off. Rain, swimmers or an active auto-fill invalidate the result entirely.
What does it mean if the pool loses more water when the pump is running?
The return lines are only pressurised while the pump runs, so a loss that increases with the pump on points towards the pressure side of the circulation system: return pipework, its joints and the return fittings. A loss that is worse with the pump off points instead towards the suction side or a static structural defect, which may draw air rather than lose water when the system is running. That single comparison narrows the investigation considerably before anyone attends.
The level drops to a certain point and then stops. What does that tell me?
That the defect is at that height and has stopped being submerged, which is the strongest free clue a pool will give you. A level that settles just under the skimmer points at the skimmer throat or its joint to the shell. A level that settles at a return fitting or a light housing points at that penetration. Note exactly where it stopped before topping the pool back up, and inspect that band closely, because it narrows the search from a whole pool to a few centimetres.
Does the pool have to be emptied to find the leak?
Usually not, and emptying should be a last resort. A liner pool left empty can shift or crease, and an emptied concrete shell in wet ground can be subject to hydrostatic uplift. Pressure testing individual circuits, dye testing at suspect fittings, acoustic listening on buried lines and tracer gas on a drained line all work with the pool full. Draining is considered only where the evidence points at a liner or shell defect that cannot be confirmed any other way.
Why can a pool leak not always be found?
Three situations defeat the standard methods. A loss small enough to sit inside the measurement error of a bucket test cannot be separated from evaporation without repeated runs across different weather. Circuits that cannot be isolated cannot be pressure tested, which is common on older installations laid without valves. And any test assumes the pool is a closed volume, so an automatic filler, nearby irrigation or continued swimming will produce a meaningless result no matter what equipment is used.